i decided to help people out a bit by doing a guide for you guys to look at so you can make your our, saves you paying loads to have some one else make you one,
LIST OF TOOLS NEEDED...
Sander (air or elec)
Welder
Metal Sheet
Card Board
Chizzle/Scrapper
Hammer
Tin Snips
2x Grips
Pliers
Fiber Glass
Filler
Sealer
Primer/Paint
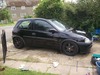
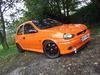
it took me around a 1 and half hours to do the side which i have done for the guide, but that was just steady and not rushing, also stopping to take photo's for every1
for a start you need to make a template for your metal plates....
all you need is a bit of card board, and a bonnet, either on or off the car, and do this...
and just follow the edge round with a pen...
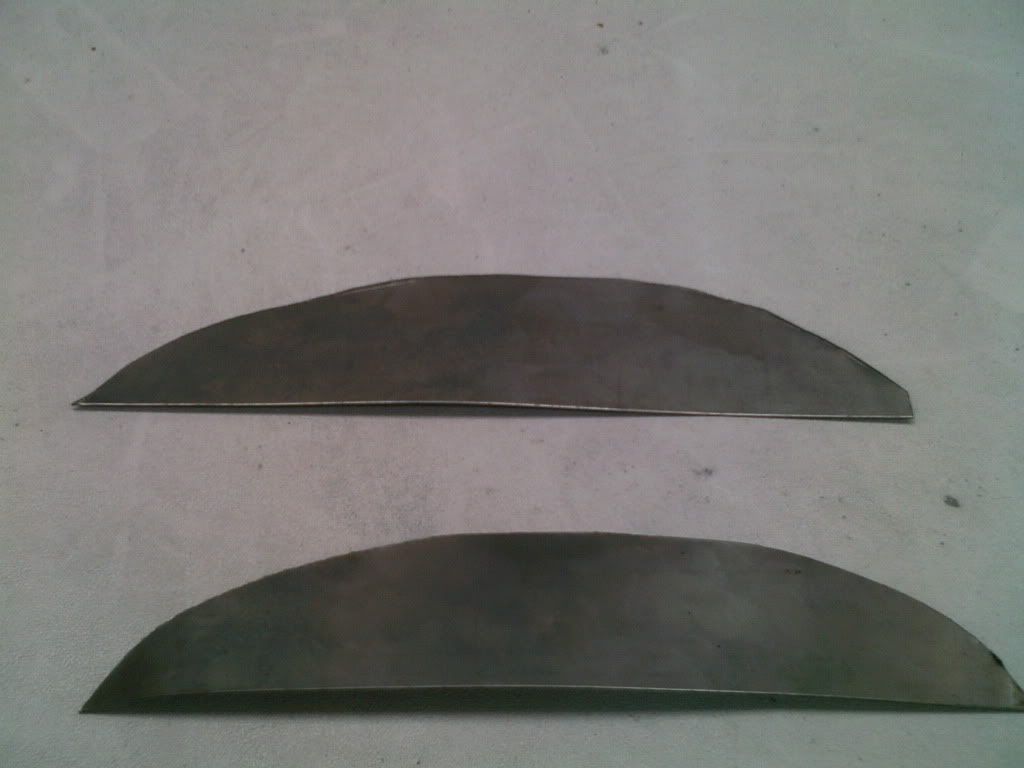
then cut it out, place in on a piece of sheet metal, make sure you use a straight edge, or you will have a wonky eye brow,
you need to cut to out make sure you cut them bigger that you template about a 'cm' bigger, because you will need it later on you'll see why, also if its bigger its easier to cut down, rather that cutting another 1,

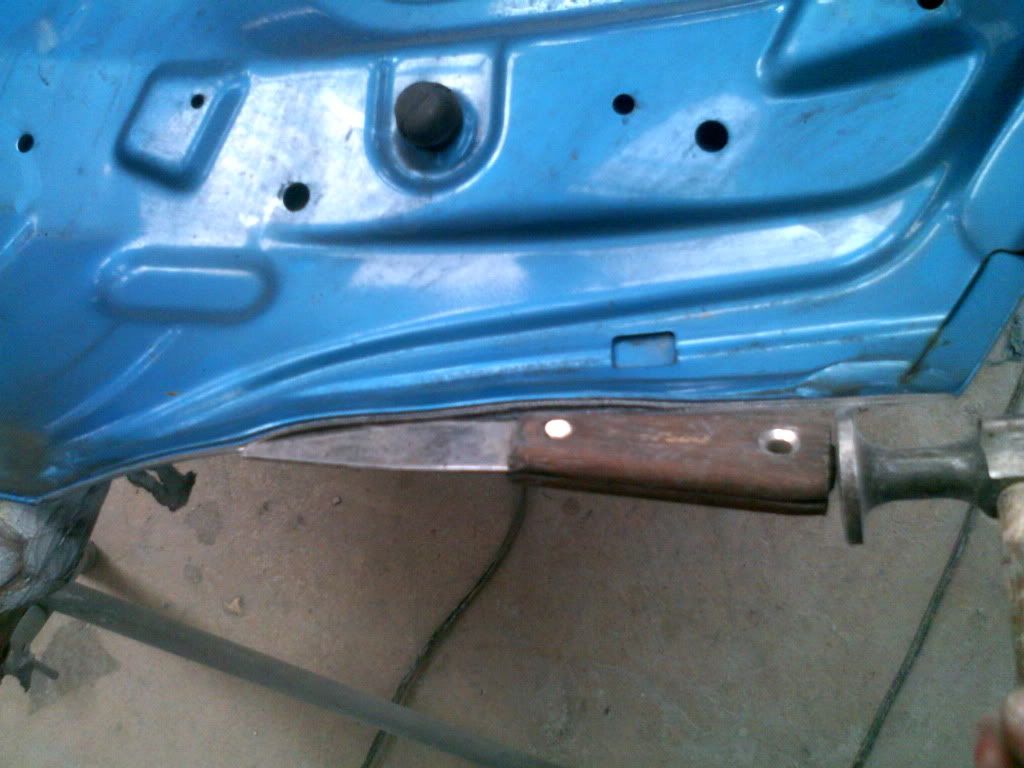
now for the next step you'll need a electric or air sander, you cud do it by hand but would take ages,
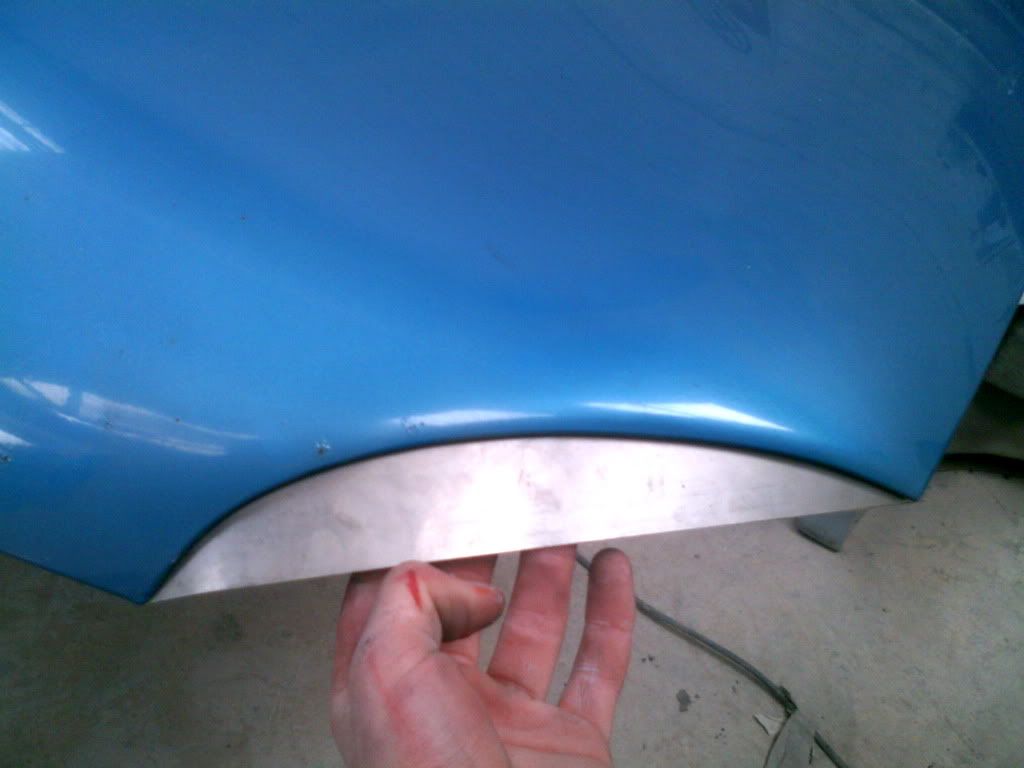
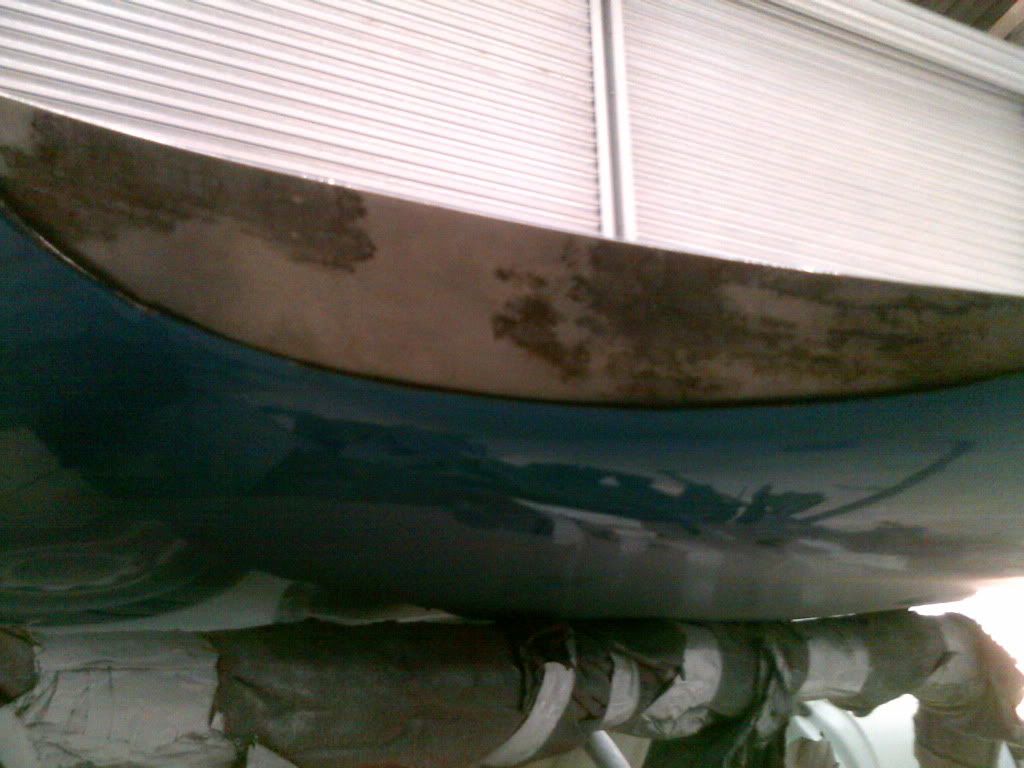
and just sand the edge untill you start seeing the gap between the 2 skin's...
gap just like this...
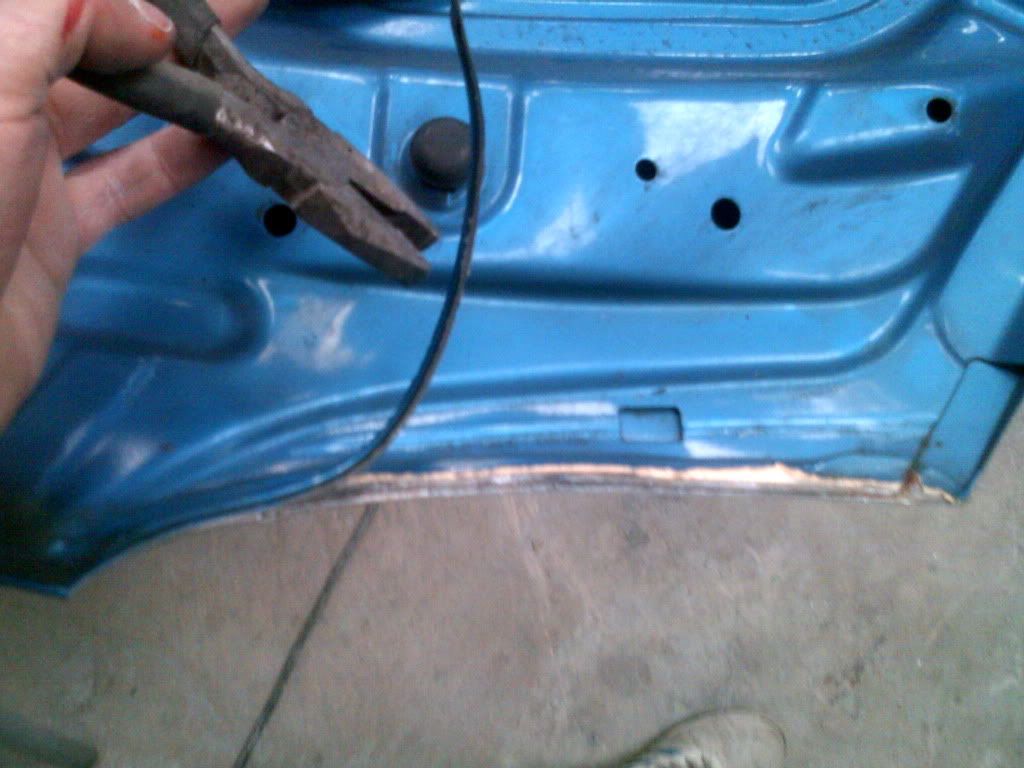
once the gap has appear nearly all the way across the edge, get a small chizzle or a fat scrapper,
and put it in the gap to break the skins in 2 halfs, you may need a hammer just to give it a little help just incase it is till joined in places...
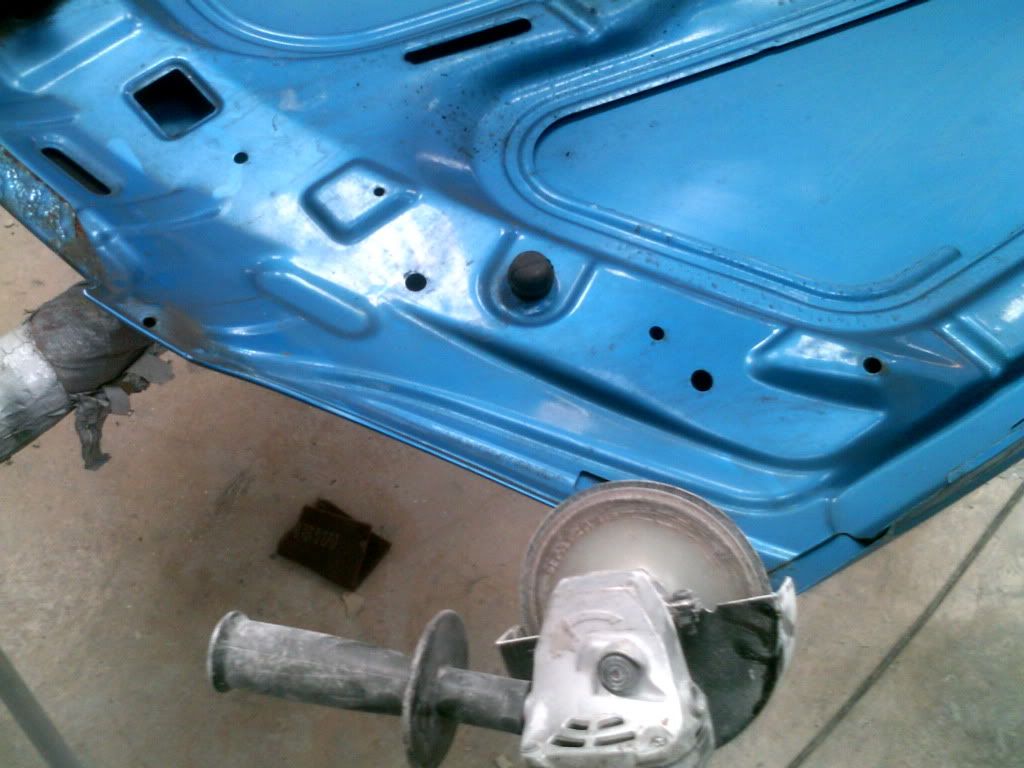
once the most of it is off just get some plier's and pull the rest of it off and it can go in the bin...
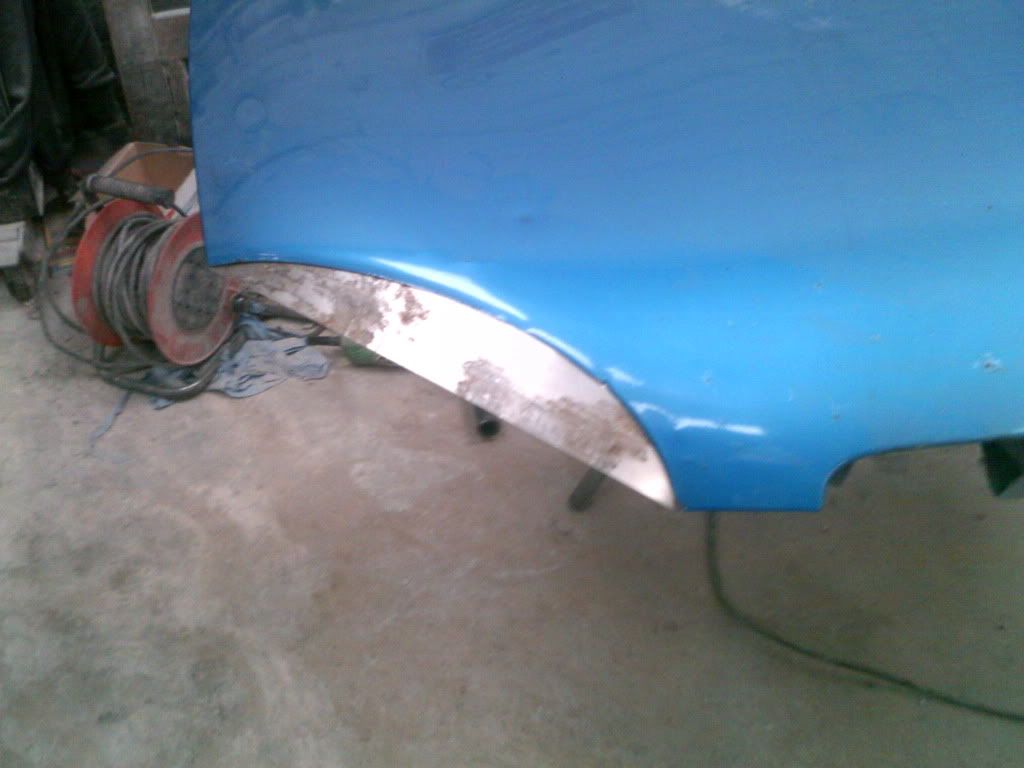
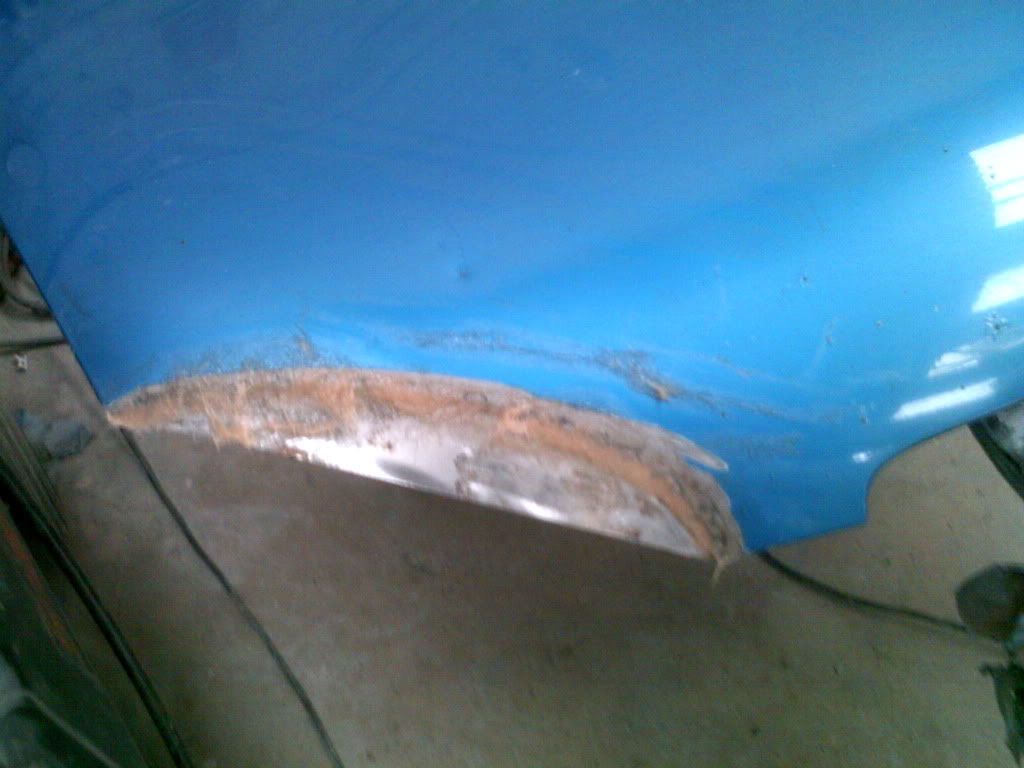
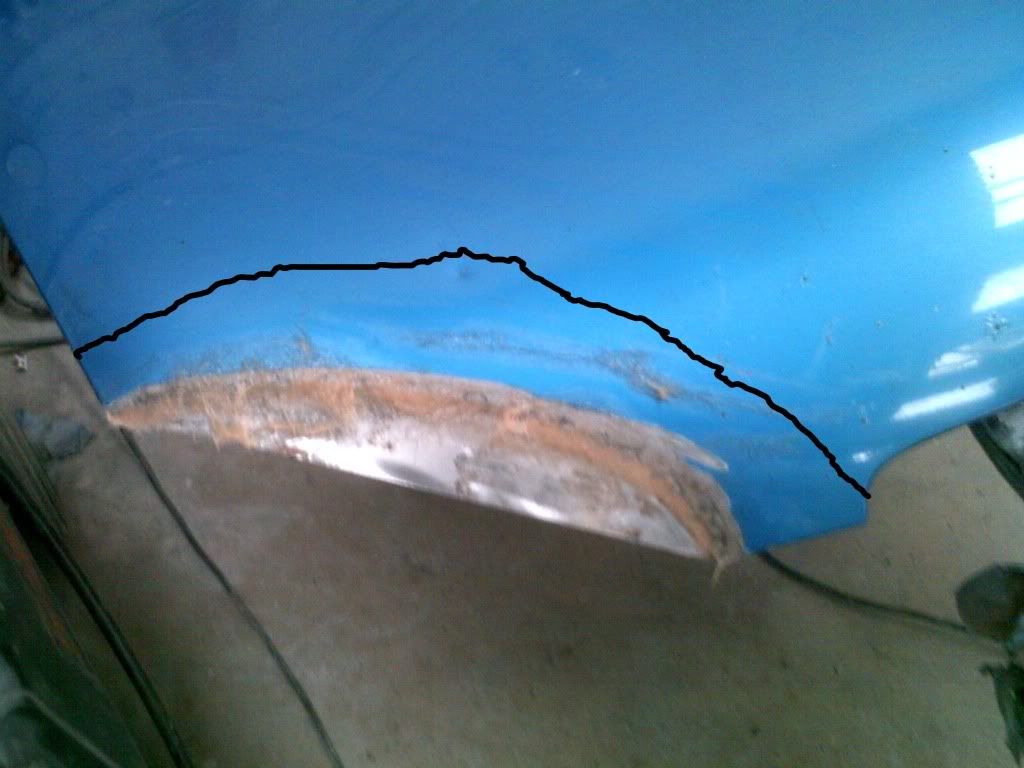
once all off should look like this...doesnt matter about getting the sealer off really but you can if you want
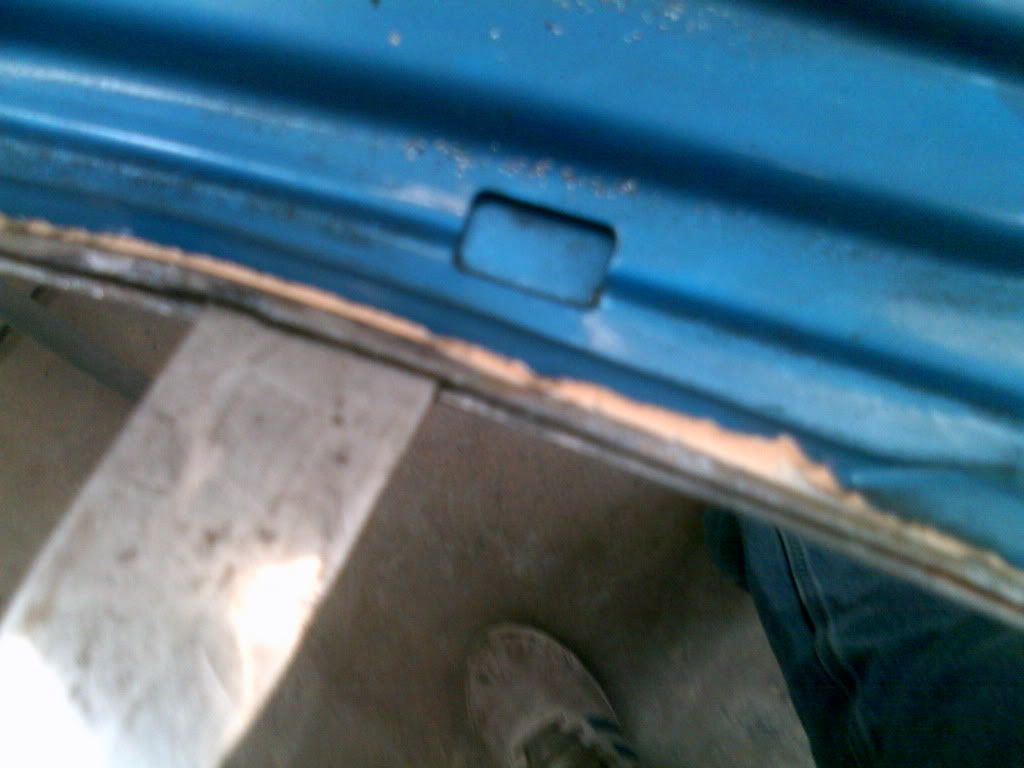
now you need to just open the gap up with the scrapper or some thing like it, just so you can slide your plate into it...but BE CAREFULL because you can put little high spots in the bonnet the other side, if you do dont worry just knock them back down befor you fill it
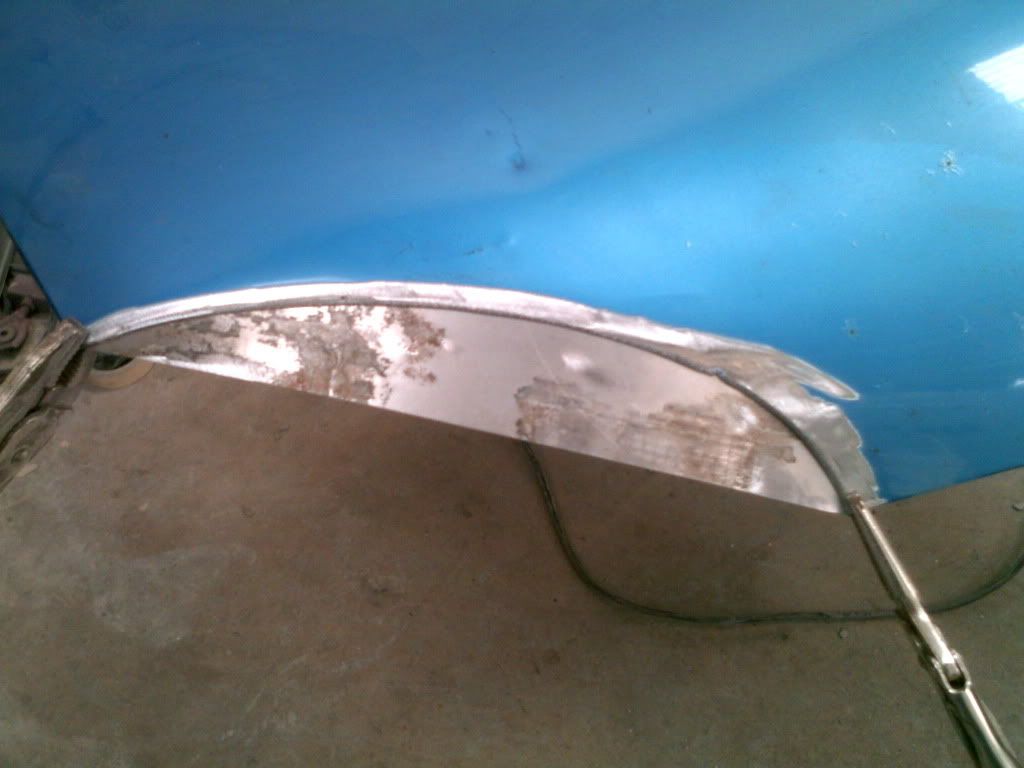
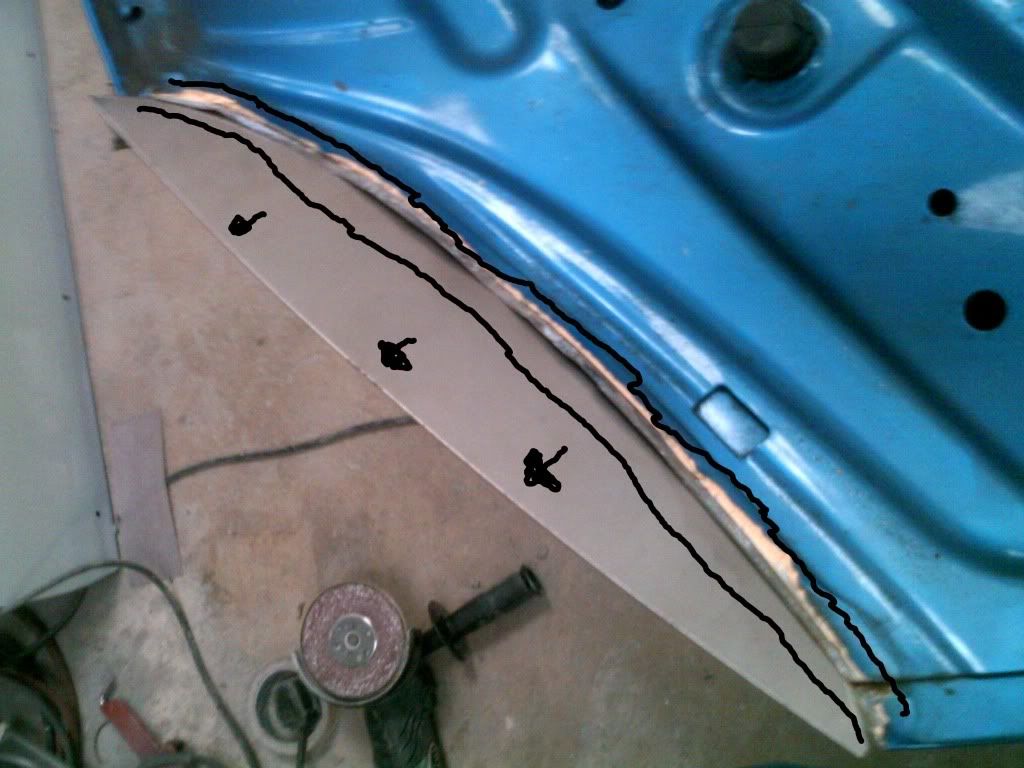
now get a plate a try to slide it in the gap, it might need a little knock with a hammer becasue its a tight fit but it helps with the strenth of the brow, also you might need to trim a bit off the top of the brow so it will al go in because it doesnt go in a great deal
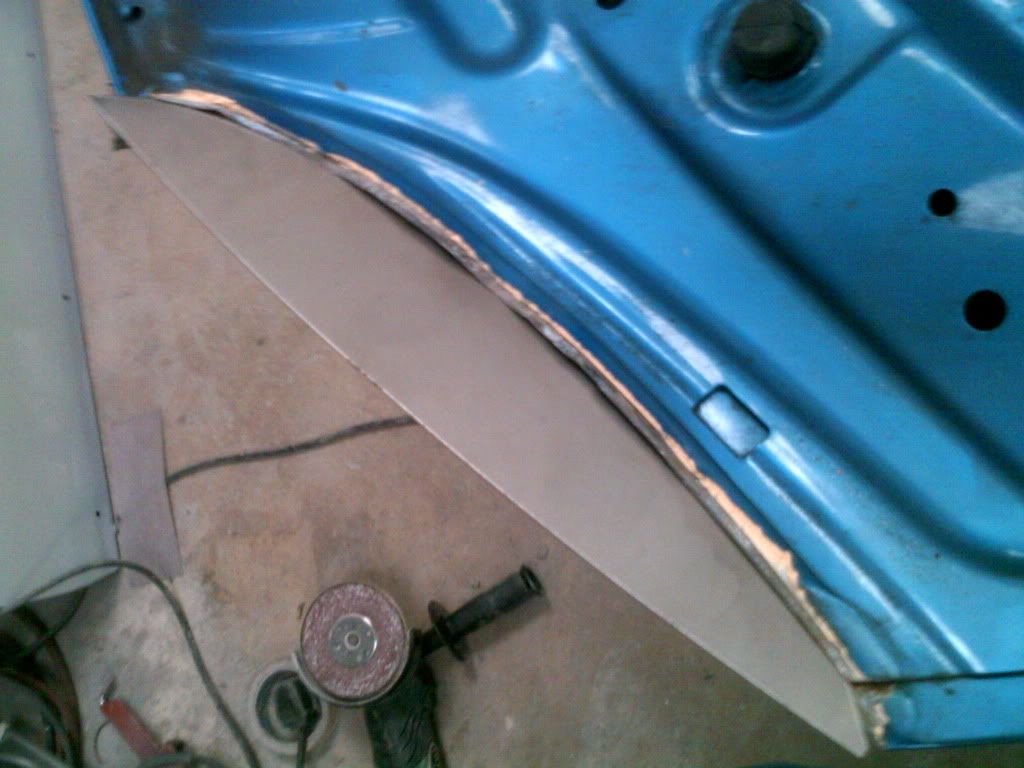
in the pic was before it was trimed up to fit as you can see it over hangs on the edges...
once i trimed it up and tapped it in, it looked like this from the top side...
if you have any little bits poping out just cut them off or sand them down so they are not seen
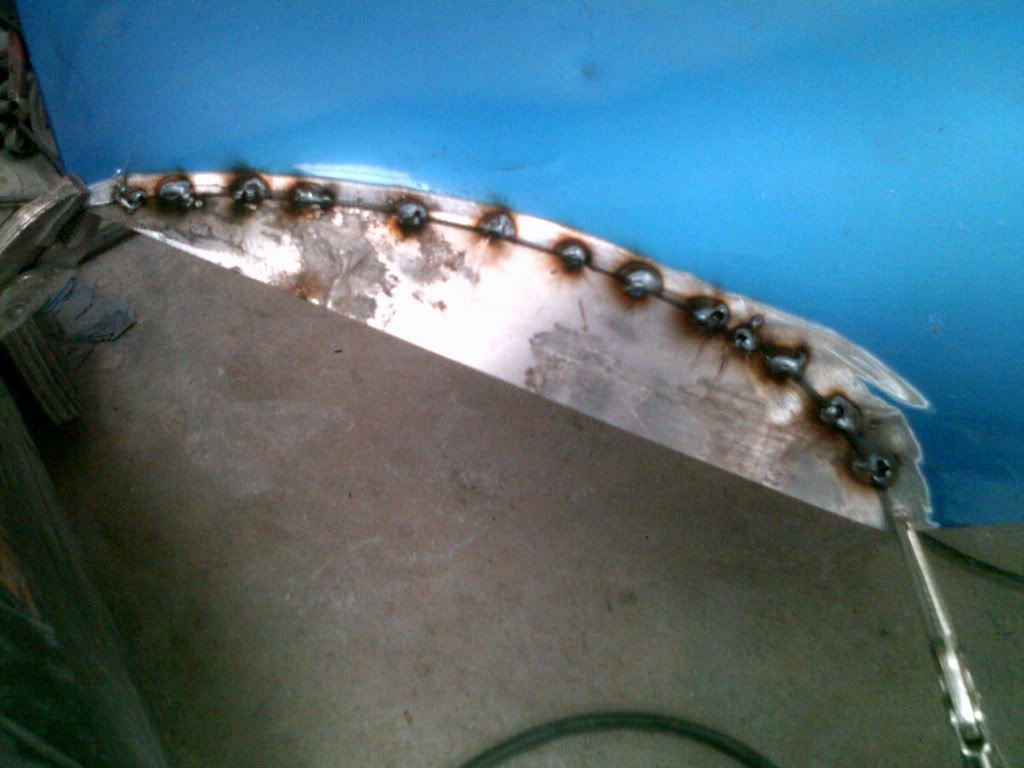
now the top edge of the bonnet needs sanding to bear metal so that the welds stick or they wont be strong...also while your welding it i would just grip it in place just incase it decides to move then you will have to remove it and start agen...
once all ready, i just tack welded it on as that should be strong enough to hold the little plate in place, they just let it cool and wobble and give it a little pull just to make sure its strongly in place because you dont want it moving when its done or you'll be starting again and it will be a mess...
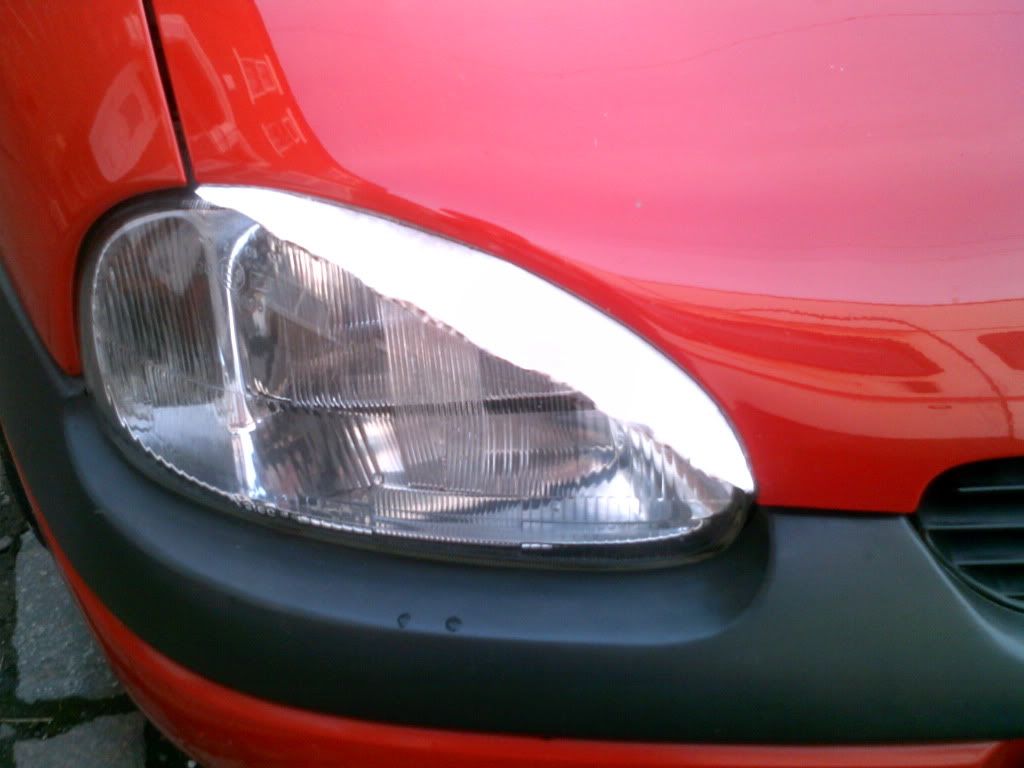
TRY THE BONNET ON YOUR CAR NOW, MAKE SURE YOU PULL IT RIGHT FORWARD ON THE HINGE AND YOU SHUT IT GENTALLY, BECAUSE OF BREAKING YOUR LIGHT, THEY ADJUST IT TO MAKE SURE IT FITS OK BEFORE YOU GO ANY FURTHER!
now one of the final step's i did a pic for...
now sand the edge off the welds or they will pock through your filler,
when i did this 1 i managed to burn a little hole in the edge so i just mixed a bit of fiber glass and just filled the edge around the brow just like this ....
 ,
,once your fiber glass is done, you need to fill the whole corner of the bonnet and brow, just to remove the join, i didnt get a picture but i've edited this one and marked where needs filling just incase you needed help...
also once filled, you need to seal the back to stop water getting in and rusting the bonnet...
you may also want to run a bead down the edge where it touches the head light to stop it from marking the light,
once you have done all that you need do the same for the other side and also do any other rust or damage on the bonnet,
then primer it, flat it, and paint it
hope this is helpful to all you people who are struggling
nath